
 Jane and John's RV pages
Miscellaneous modifications
May, 2010 update:
The driver's floor mat fix still performs well and the mat stays put! After our MCD shade installation for the cockpit area, that AC outlet discussed below was covered up and unusable. I managed to fish the plug of the extension cord into the upper cabinet where it can now remain plugged in on a permanent basis. The sliding trash can is a "can't live without" feature. We actually used it so much, we broke the top lip of the the plastic container. I managed to find the exact container on Amazon (Woodworker's Supply I believe) and ordered a replacement and a spare.
The improvements discussed on this page:
- Keeping the driver's floor mat in one place
- Dash AC outlet in a convenient place for the laptop power brick
- Sliding trash can for the galley
These are just little projects that usually don't take too much time or money, but sometimes require more than a modicum of thought. They are just as rewarding as a high-dollar and high-energy project because they make life better on a daily and notable basis. For example, replacing the stock inverter with the Xantrex RS2000 was a high-dollar and very high-effort project; the rewards are really subtle. You need to be a bit of a 'geek' to know and appreciate that all of your systems are relishing the pure sine wave output of the Xantrex and no electronic device that has a clock is losing time. On the other hand, curing the migrating drivers floor mat was simple, inexpensive and appreciated every time we drive the coach!
Let's take a look:
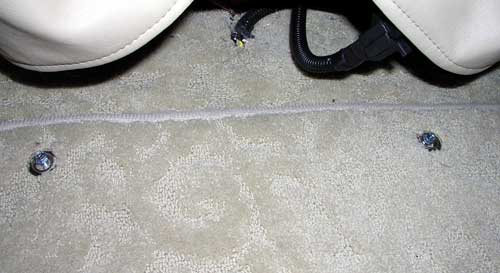
Here is the now-modified and formerly migratory drivers floor mat. I had canvas makers heavy-duty grommet equipment (hole punch, grommet die and set). All it took was two large grommets and a couple of 2 1/2 inch drill-screws. A 15 minute project appreciated every time we drive the coach!
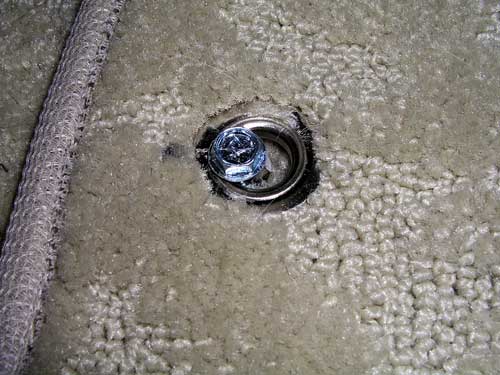
Close up of the grommet and screw. The grommet hole diameter is obviously larger than the diameter of the screw so I can remove the mat for cleaning
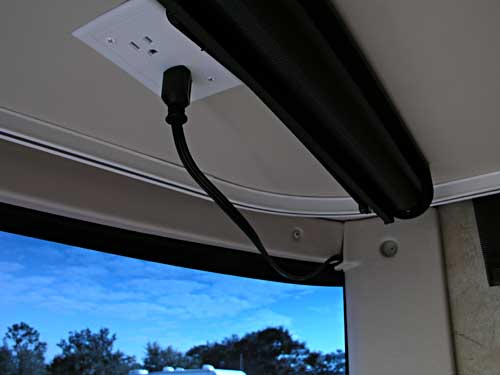
Our laptop is now powered from the AC outlet under the dash overhead cabinets. The power cord runs under the "A" pillar trim piece. I duct-taped it down so it will not move and chafe. Update: this outlet is now covered up with the MCD shade. Plug rerouted to the cabinet above
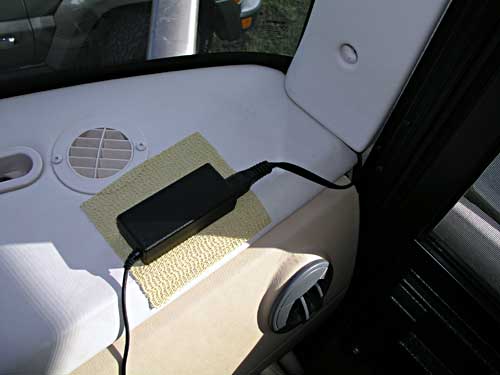
The bottom end of the laptop power scenario. The power "brick" does not move around at all resting on the non-skid mat
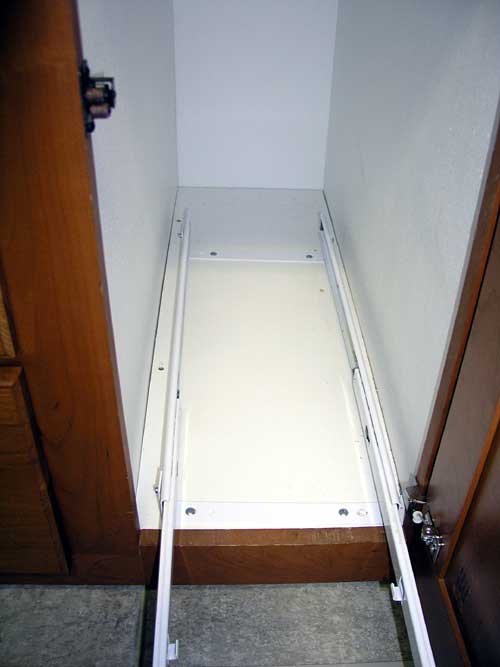
The trash can that just parked loose in the cabinet always 'bugged' me. In the stick house, we had a trash center that pulled neatly out from the cabinets. Fortunately, I found a trash can slide that was a perfect fit for our cabinet space. As an added bonus, the trash can is larger than the standard Winnie-supplied version
I found the Knape and Vogt Model PSW10-1-30W at Woodworker's Supply. Their item number is 115979. You need to be be sure that your cabinet is properly sized for whatever waste bin slide-out you order
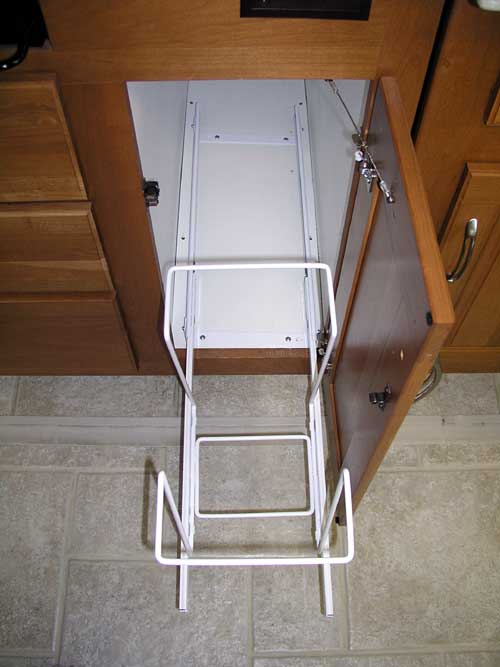
Ready for the container
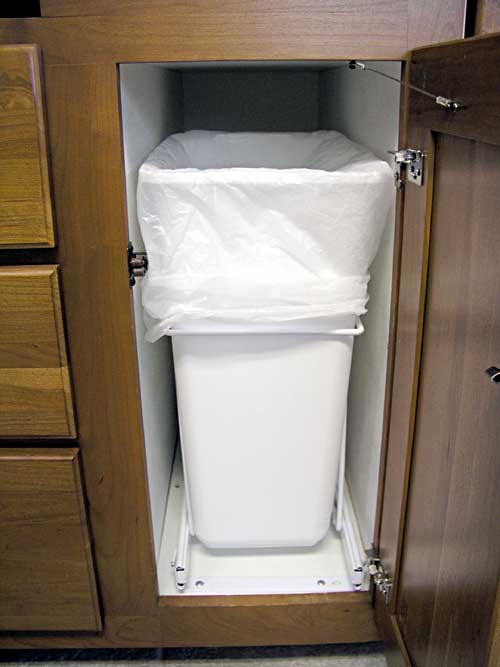
Ready for trash!
-End-