
 Jane and John's RV pages
Installation of a Sony side view camera
July 12, 2013 update
Sony is out of the RV market so no direct replacement is possible. At this point it's highly unlikely that we will replace the cam.
April, 2011 update
Number three side cam is kaput/broken/toast (been screwed up for many months) and it is not a high priority to replace it. I do miss it once in a while though, so when I can't stand it any longer, I'll call Tim at rvcams and order another replacement.
May, 2010 update
The Sony cam shown in the below pictures developed an out-of-focus area in the center of the picture after about a year of operation. Fortunately it was still in warranty and Tim at RV Cams replaced it. The housing style changed to one more streamlined, so Tim upgraded me to the latest. Beginning several months ago, it looks like the same problem has returned. Joy, joy. Also I think Winnebago is using the fatter housing I originally installed. As we now have 55,000+ miles of driving experience, we rarely use the side cam, so it is not a priority to replace it.
September, 2005
Okay - okay .. I like toys! Since I am a retired professional 'geek' , what better way to fulfill those technological fantasies post-corporate life than 'improving' our coach. It was lots of fun (well, most of the time) when I had a job of messing around with hundreds of thousands of dollars of hardware; now alas I must be content with far less. However we will still make it fun.
I must confess that I believe this side view camera won't ultimately stay in the category of 'toy.' It should add an extra element of safety and convenience, and remove some of the driving and maneuvering stress with our coach. The cam price was right-on as we old flower-children say - about $225. You couldn't do better than ordering it from Tim at RV Cams!
Let's take a look..
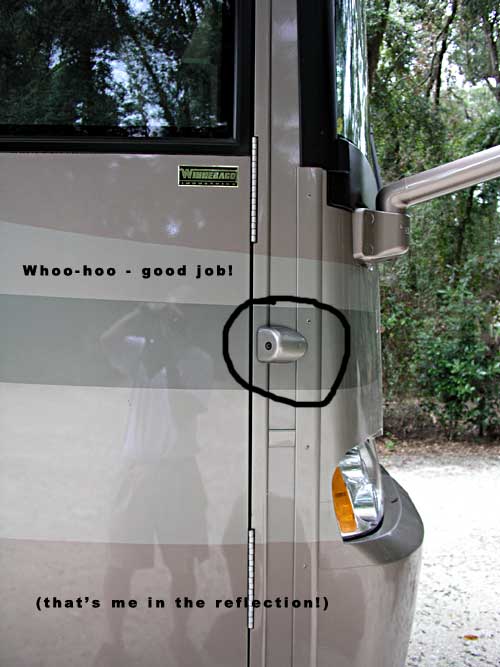
Let's see the finished job first. Ahhh - looks good. The camera housing has what we call a "three foot" paint job - looks great about three feet away. Good enough.
Now for my secret: I really wasn't planning on mounting the cam where it is. I actually was planning on mounting it in the NEXT paint band down to where it covers up the little horizontal trim strip:-( Even though I painted a little sample of the touch-up paint I thought was the correct choice (out of four choices), I STILL got it wrong. (I have been known to go to work with "magic socks" - one blue one and one brown one.) Anyway, it all worked out well because the new mounting position allowed me to enter the inside of the dash area directly and easily.

The masking tape to the left marks the center line of the camera. The hole/masking tape to the right is where the cable enters the coach. The hole needs to be slightly larger than 1/2 inch. Drill a 1/8" pilot hole first to confirm your location
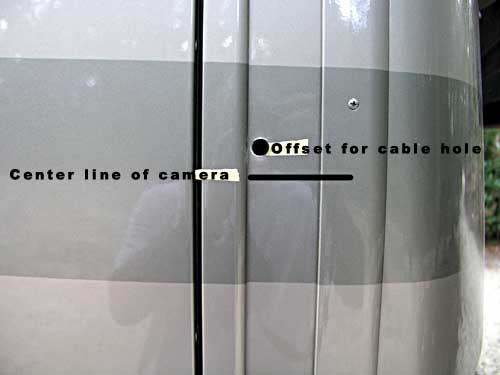
Close-in view of the above picture
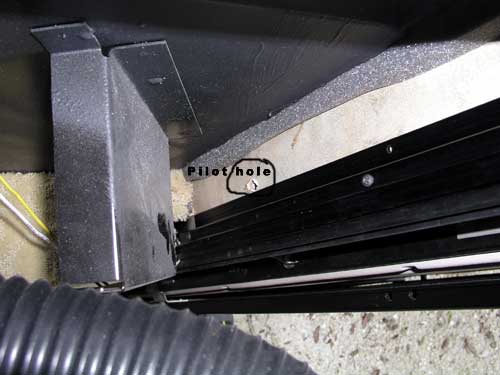
This view is inside (of course) of where the pilot hole wound up. I could have used it maybe slightly more forward, but it worked fine like this. The vertical dash trim (kick panel) removed easily. I'll show that next
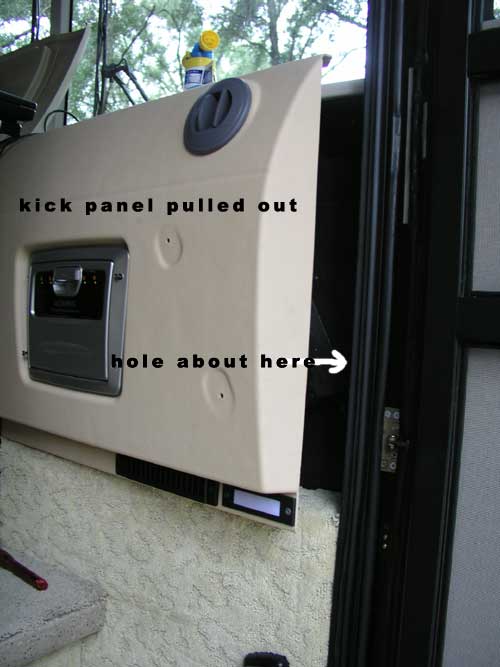
To pull out the kick panel, remove the entrance grab handle. Remove a carpeted trim strip at floor level to the left of the kick panel (see next picture.) Then use a flat bladed screwdriver to pry the right hand side of the trim away from the door frame
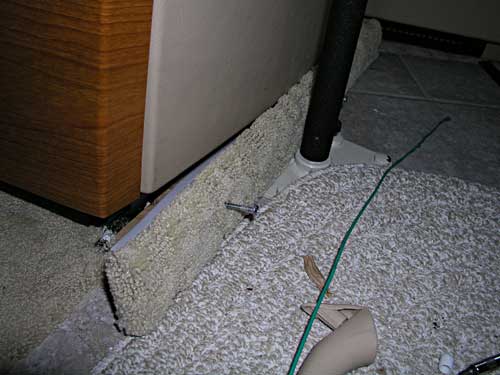
The carpet-covered trim piece with the screw backed out is what you need to remove. Now we have a nice easy path to get the wire from the entrance hole over and up to the monitor. The black pipe is my Jotto Desk laptop stand
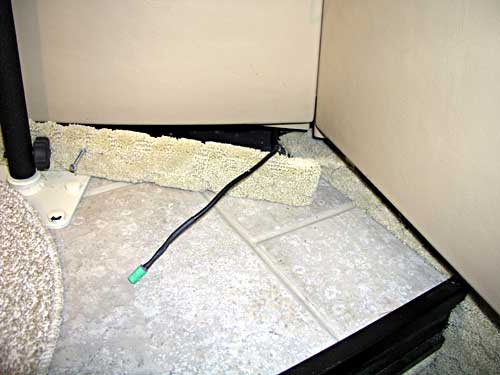
The camera wire ready to be pulled over to the right behind the kick panel. It is very easy to get the wire from the rear of the monitor over to the entrance hole with just these two parts out of the way. No fishing was necessary!
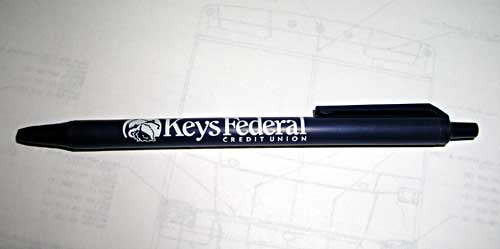
Somebody on the line at Winnebago is missing this pen - I found it in the dash area. If this is your pen, please call me
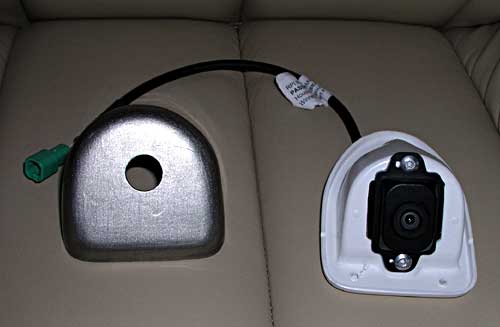
Here is the little beauty first of two Sony cameras that developed a problem. It is color and is designed to be plugged into the Sony color monitor. You can also see my "three-foot" paint job
How well does it work? So-so. It is very affected by bright sunlight but it does have a great angle of view. As mentioned at first, we don't use it very much now, but once in a great while it is very handy like when leaving a toll booth that is several lanes wide and traffic is all over the place, and at truck stops where there are trucks running all over the place.
-End-