
 Jane and John's RV pages
The glass monster in the salon finally gets replaced with an LCD TV
Due to the number of pictures, I'm splitting this up into two parts. Part 1 is removal of the old TV, Part 2 is installing the new LCD
Part 1 | Part 2
Let's get busy with cabinet work!
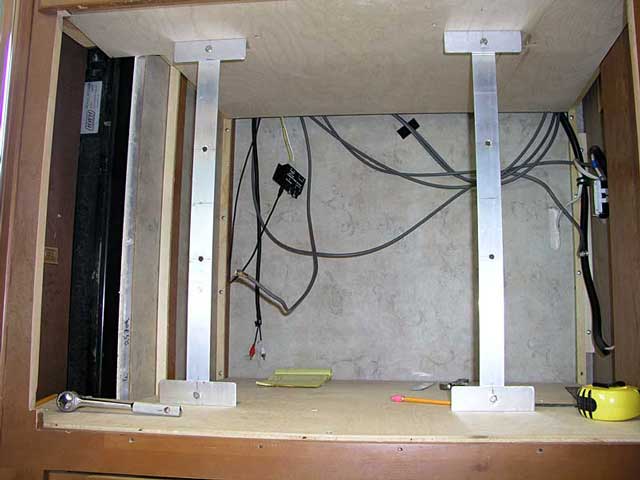
It was necessary to line the interior of the cabinet space with plywood on the top and bottom to provide a strong surface for mounting an articulated TV mount, and on the sides for good looks. This require quite a bit of thought and planning and whatever you decide to do, I recommend you mock up idea first before plunging ahead with good cabinet-grade plywood.
I used 1/2" cabinet-grade birch plywood for the top and bottom on the cabinet interior, and 1/4" birch ply for the sides. Birch takes stain really well and it wasn't too difficult to come close enough to matching up our Horizon's sun-darkened cherry. I made some molding to finish out the cabinet interior corners. One tip - I highly recommend you do all of sanding and staining, etc. on the wood before installation! Makes it so much easier.
One other tip - use cardboard to make a template of whatever it is you decide to do.
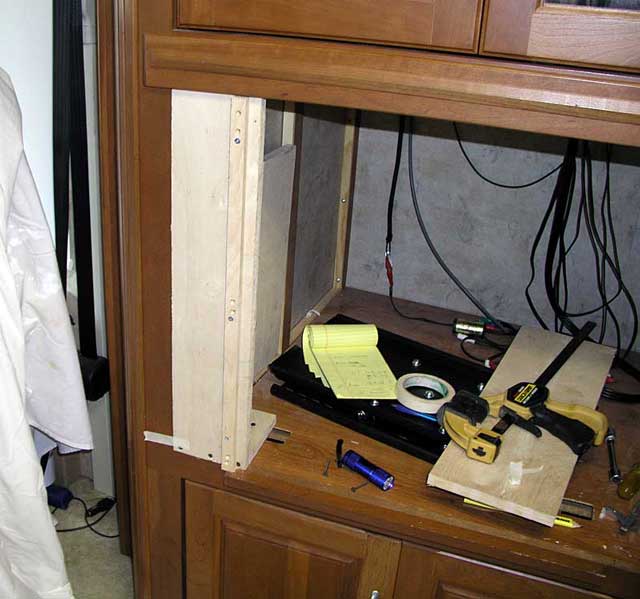
The cabinet opening needed to be widened by about 1/2" - I made a jig to make cutting accurate with my 18V DeWalt circular trim saw
And ready to cut the other side

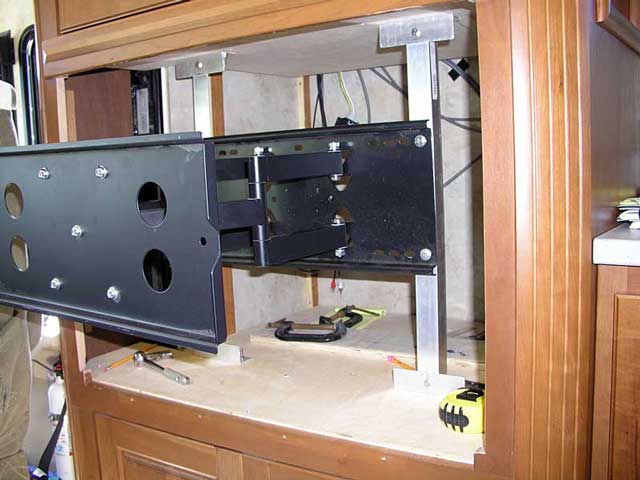
Next I used plywood scraps to mock-up and test my mount dimensions and to make certain everything would fit properly. Then we can move on!
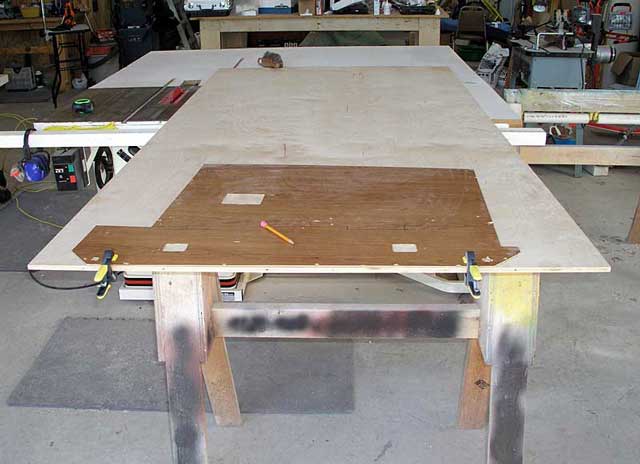
You can remove the Winnebago paneling to use for marking the top/bottom plywood
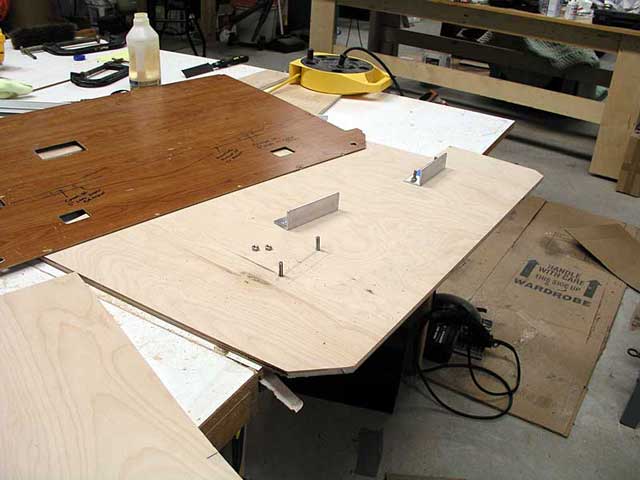
Plywood is cut and you can notice my angle aluminum mounts for support of the vertical TV mount supports (this will make more sense in the next picture)
Ah - looking good so far. I'll remove the new plywood and the aluminum angle for staining and painting
Yup - looks like it's going to work!
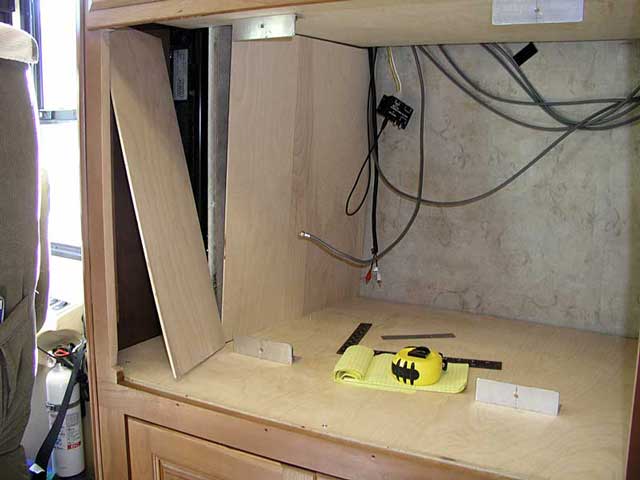
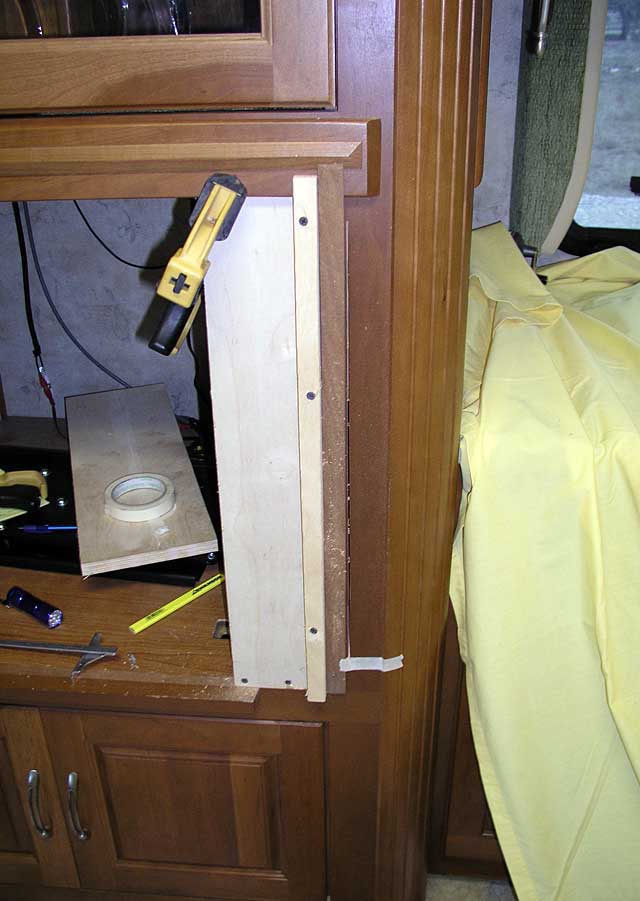
Let's get the sides fitted
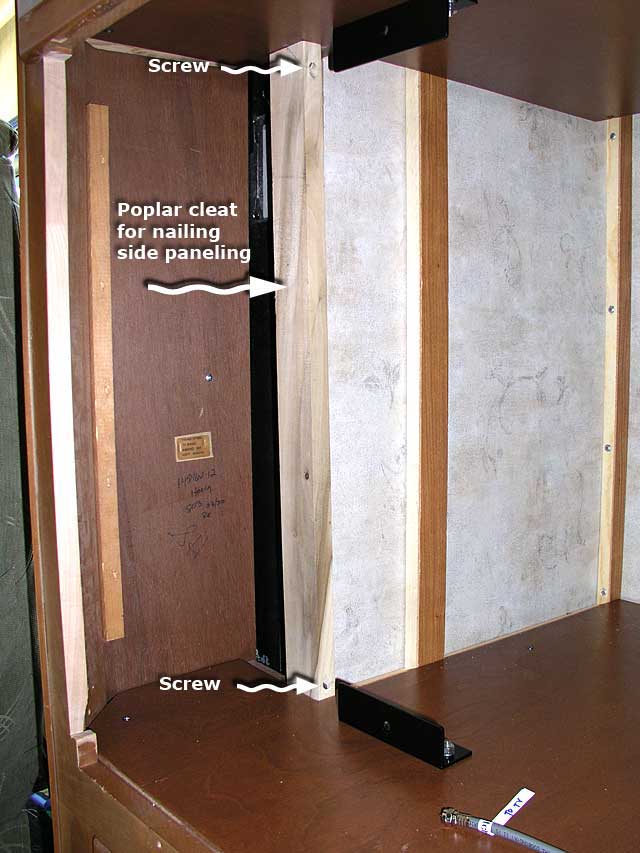
Had to add a cleat here to nail the plywood to
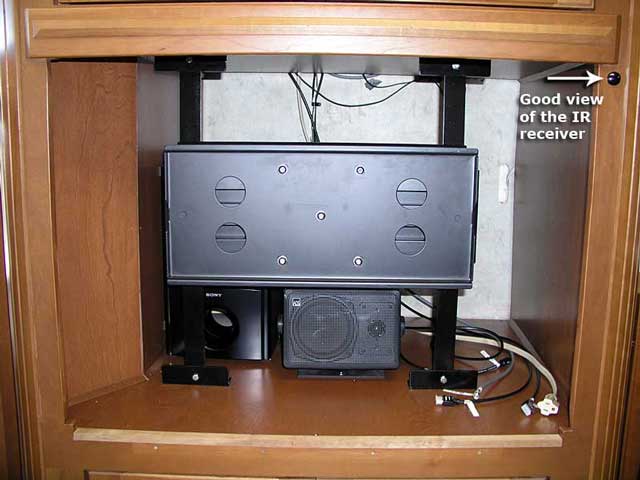
Ah - the finished job less the TV. I moved the IR receiver from the bedroom to here so I could easily operate the Sony home theatre and the DVR
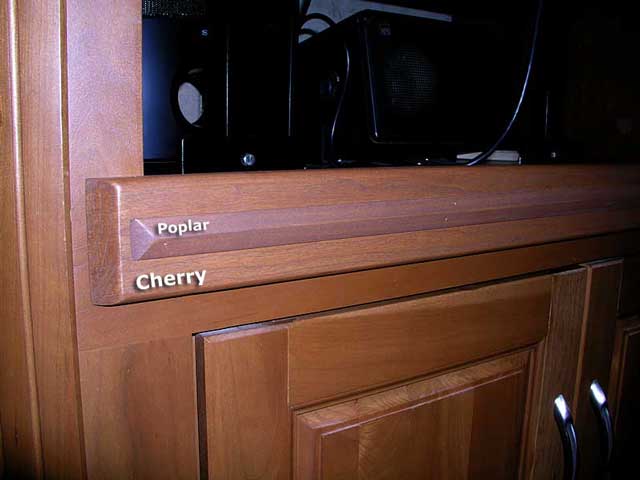
As a finishing touch, I made some trim for the opening bottom. The poplar trim looks a little 'off' in color here, but it really looks good in person!
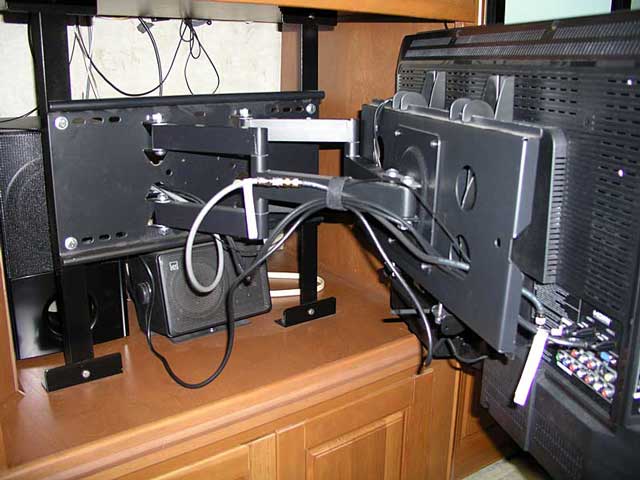
The TV is now mounted
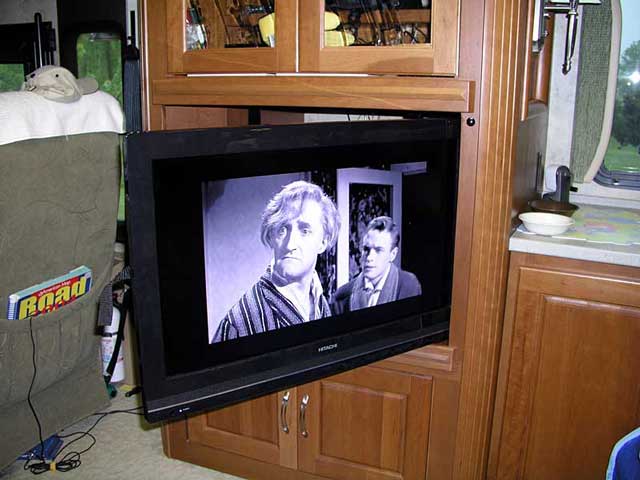
We're watching an old B/W movie. We can now easily see the TV from anywhere in the salon
A few details about the speaker setup:
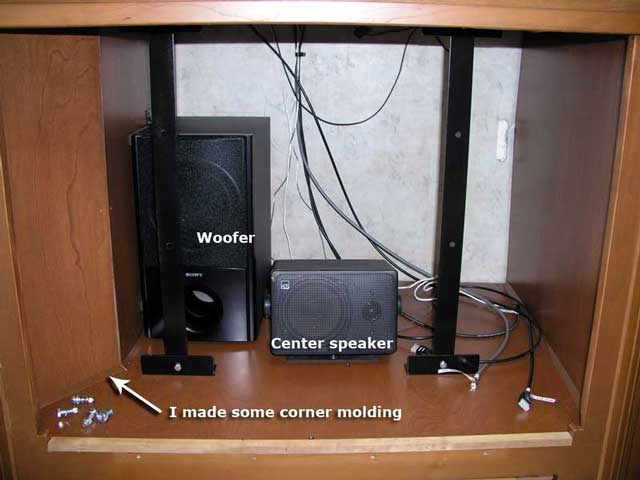
The Sony woofer fit nicely here. It is captured by brackets I installed. The center speaker was a very good one I had lying around
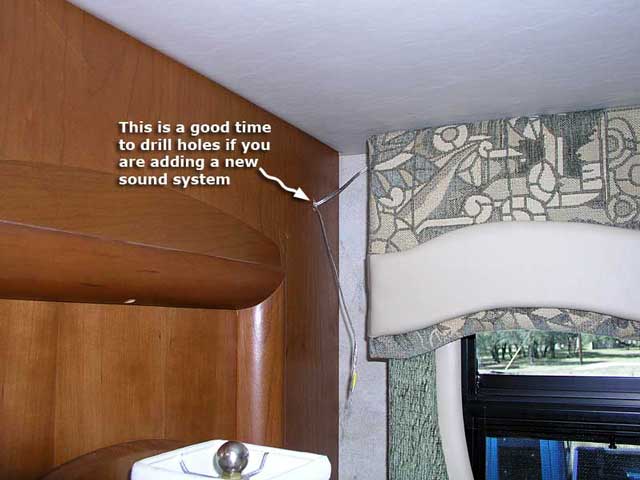
The best time to run speaker wires is now!
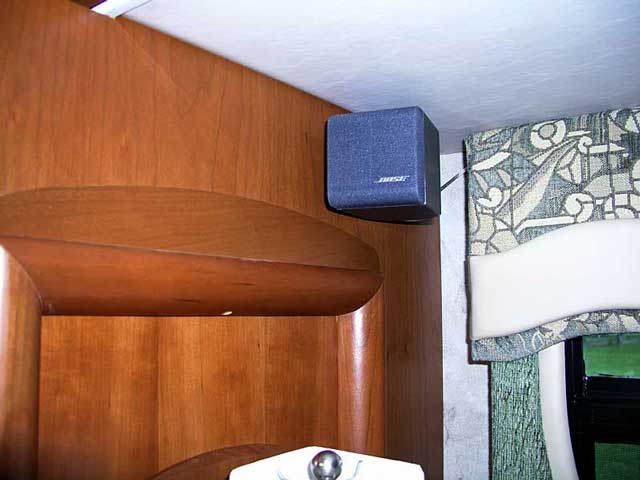
I used some old Bose cube speakers I had hanging around
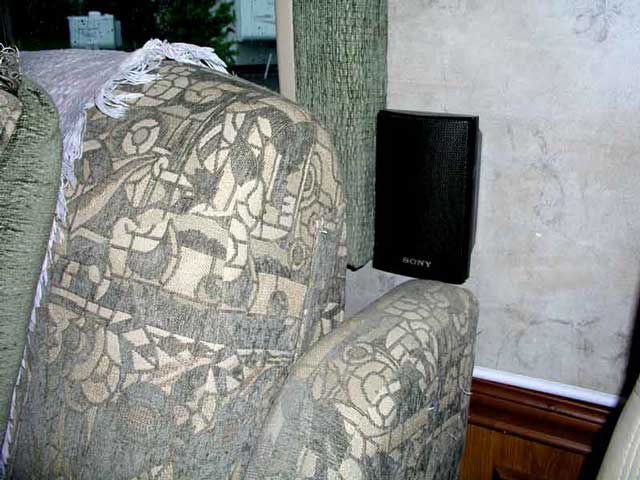
Here's the left rear surround speaker (wireless)
That's it - I have a bunch more pictures, but you should have a good idea now of what I decided to do. Shoot me an email if you have any questions
Back to Page 1
-End-